
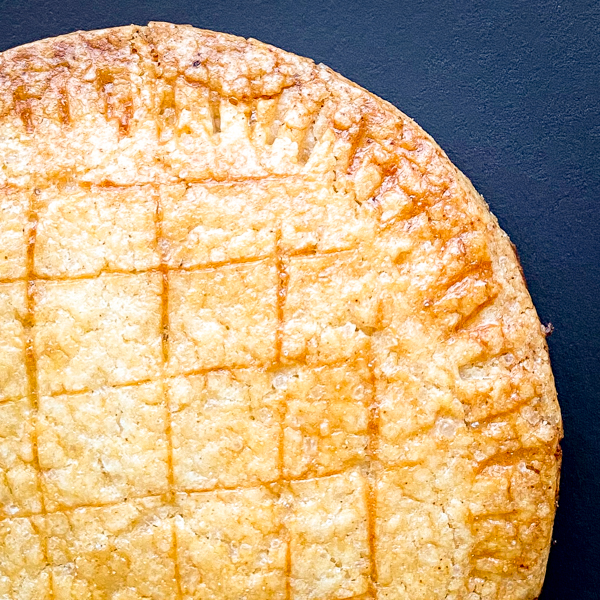
 Gâteau Basque is one of my favourite desserts – it’s definitely not fancy but it’s ever so delicious! I’ve made this countless times over the past few years (the first time using Dorie Greenspan’s recipe in a tiny galley kitchen in a Paris rental apartment)
Dorie describes a Gâteau Basque as “a dry cake, but delicious.” It’s a kind of buttery cookie/ flat cake filled with either pastry cream or black cherry jam, popular around the holidays because of its sturdy nature and the fact that it is easy to transport. Not to mention the fact that it’s perfect anytime of the day (as in, for breakfast!). The distinguishing feature of a Gâteau Basque is the appearance of the top of the cake – if it’s filled with pastry cream, there’s a crosshatch pattern but if it’s filled with jam, there’s a Basque cross made out of pastry and baked flat on top.
I love Dorie’s story about her and Michael’s trip to the Gâteau Basque museum – yes, I would probably drive for 8 hours just to visit that too! She learned how to make the Gâteau Basque at a demonstration there by Chef Bixente Marichular and brought the recipe home with her, fortunately for us because it’s how I discovered how easy this is to make (it’s a very recipe popular in my adult cooking classes).
At that demonstration, the chef used and suggested “crystal sugar” and while Dorie doesn’t use this in her recipe, recently in my Gâteau Basque I’ve been using turbinado raw cane sugar which does add a lovely crunch to the crust. After a recent class, I had some dough leftover and used it to make individual Gâteau Basque which were so good that I can’t not share! Note that they are so small and I only had *so much* dough that I ended up doing the crosshatch pattern on top, even though they are filled with jam (it’s supposed to be a Basque cross on top for that filling).
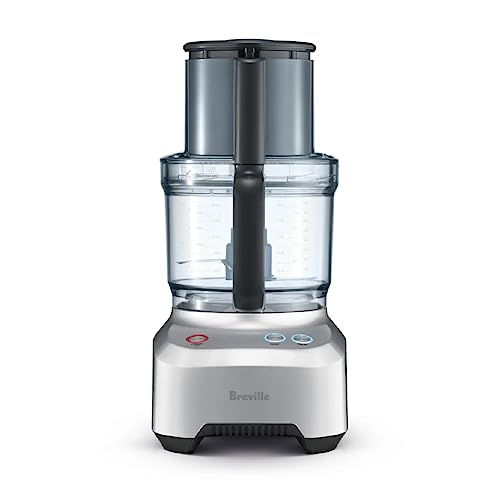
 At my last adult cooking class, I took a shortcut and made this pastry in a food processor and it worked a treat – it’s so easy and less cleanup too!
Mini Gâteau Basque
Easy Gâteau Basque - mini sized!
Ingredients
For the pastry
- 300g (2 cups) all-purpose flour
- 1 teaspoon baking powder
- 60g (1/4 cup) raw turbinado sugar
- 50g (1/4 cup) granulated sugar
- 113g (1 stick, 8 tablespoons) salted butter, chilled
- 1 large egg
- 1 teaspoon pure vanilla extract
For filling and baking
- approx 1/2 cup cherry jam
- 1 egg beaten, for eggwash
Instructions
Make the dough
- Place the flour, baking powder and sugars in the bowl of a food processor fitted with a metal blade. Pulse until combined.
- Add the cubed butter and pulse 5-6 times until the butter is roughly "cut in".
- Add the egg and vanilla and pulse until the dough starts to clump around the sides of the bowl.
- Tip the dough onto a piece of parchment paper and gather it in your hands (the dough will be crumbly but the warmth of your hands will help it come together).
- Divide the dough into two and, working with one piece at a time, roll the dough between two sheets of parchment paper until it's a circle of approximately 30cm (12-inches) in diameter.
- Place the rolled out dough (still on the parchment) on a baking tray, cover with plastic wrap and place in the fridge while you roll out the second piece of dough.
- Place the second rolled-out piece of dough on top of the first piece and cover with plastic wrap. Leave to chill in the fridge for at least 1 hour.
Assemble and bake
- Pre-heat the oven to 375˚F. Line a baking tray with parchment paper.
- Remove the chilled dough from the fridge and let it sit for approx. 10 minutes so it's not too hard (it will crack when you handle it otherwise).
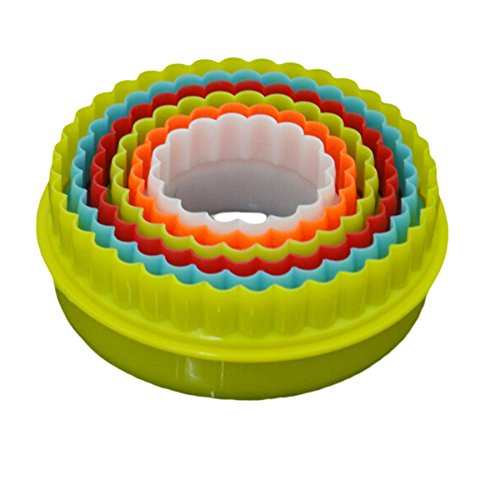
- Use a 10cm (4-inch) cookie cutter to cut out 4 rounds from each piece of dough.
- Place four rounds on the baking tray.
- Place approx. 1 scant tablespoon of jam in the centre of each round of pastry.
- Carefully place the remaining four rounds of pastry on top of the jam topped pastry.
- Use your fingers to gently press the pastry edges together, making sure no jam is making its way out the side!
- Use the tines of a fork to press the edges together, then use the back of a sharp paring knife to make a pattern on top of each gâteau.
- Gently brush the top of each gâteau with eggwash.
- Bake for 25-30 minutes or until the gâteaux are golden brown on top.
- Remove from the oven and allow to come to room temperature before serving.
Recommended Products
As an Amazon Associate and member of other affiliate programs, I earn from qualifying purchases.




Happy French Friday!
_________
Please note: This post contains affiliate links. I am a participant in the Amazon Services LLC Associates Program, an affiliate advertising program designed to provide a means to earn fees by linking to mazon.com and affiliated sites. This means that if you click over and purchase something, I will receive a very small percentage of the purchase price (at no extra cost to you). Thank you in advance!
_________
Buy my books! In the French kitchen with kids and French Food for Everyone: le goûter (after school snacks) and le dîner (dinner) are out now! Click here for details and how to order!

Like this post? Get blog posts delivered to your inbox! Sign up here!
I could nibble these every week…so simple, but tasty.
I can’t wait to make these to cheer up this gray day. I was going to make a big one but this is a much better idea.
I love the smaller sized ones (and they are perfect for people who are nervous with pastry – smaller amount is easier to deal with!).